Tales of Eternia Remastered Beginner Guide
Plan your first Tales of Eternia Remastered session with story orientation, readable controls, basic battle practice, travel choices, and a useful return point.
Learn your current controls, follow the latest story instruction, and practice one basic action plus one available Arte at normal speed. Use destination markers and travel conveniences deliberately, without assuming old-version routes or unverified unlock rules.
View reference image
On this page
Start Tales of Eternia Remastered by making the game readable, learning one controlled battle sequence, and following the current story objective. You do not need an old completion checklist before taking your first steps in Rasheans. The remaster has documented conveniences that let you separate learning, exploration, and faster travel instead of treating every session as a race.
This is a source-based opening plan, not a claim that we have completed the Steam release. The current Steam description and Bandai Namco materials establish the two-world premise, the action battle system, and the named quality-of-life features. The order below is our recommendation for learning those systems without importing unverified requirements from the original release.
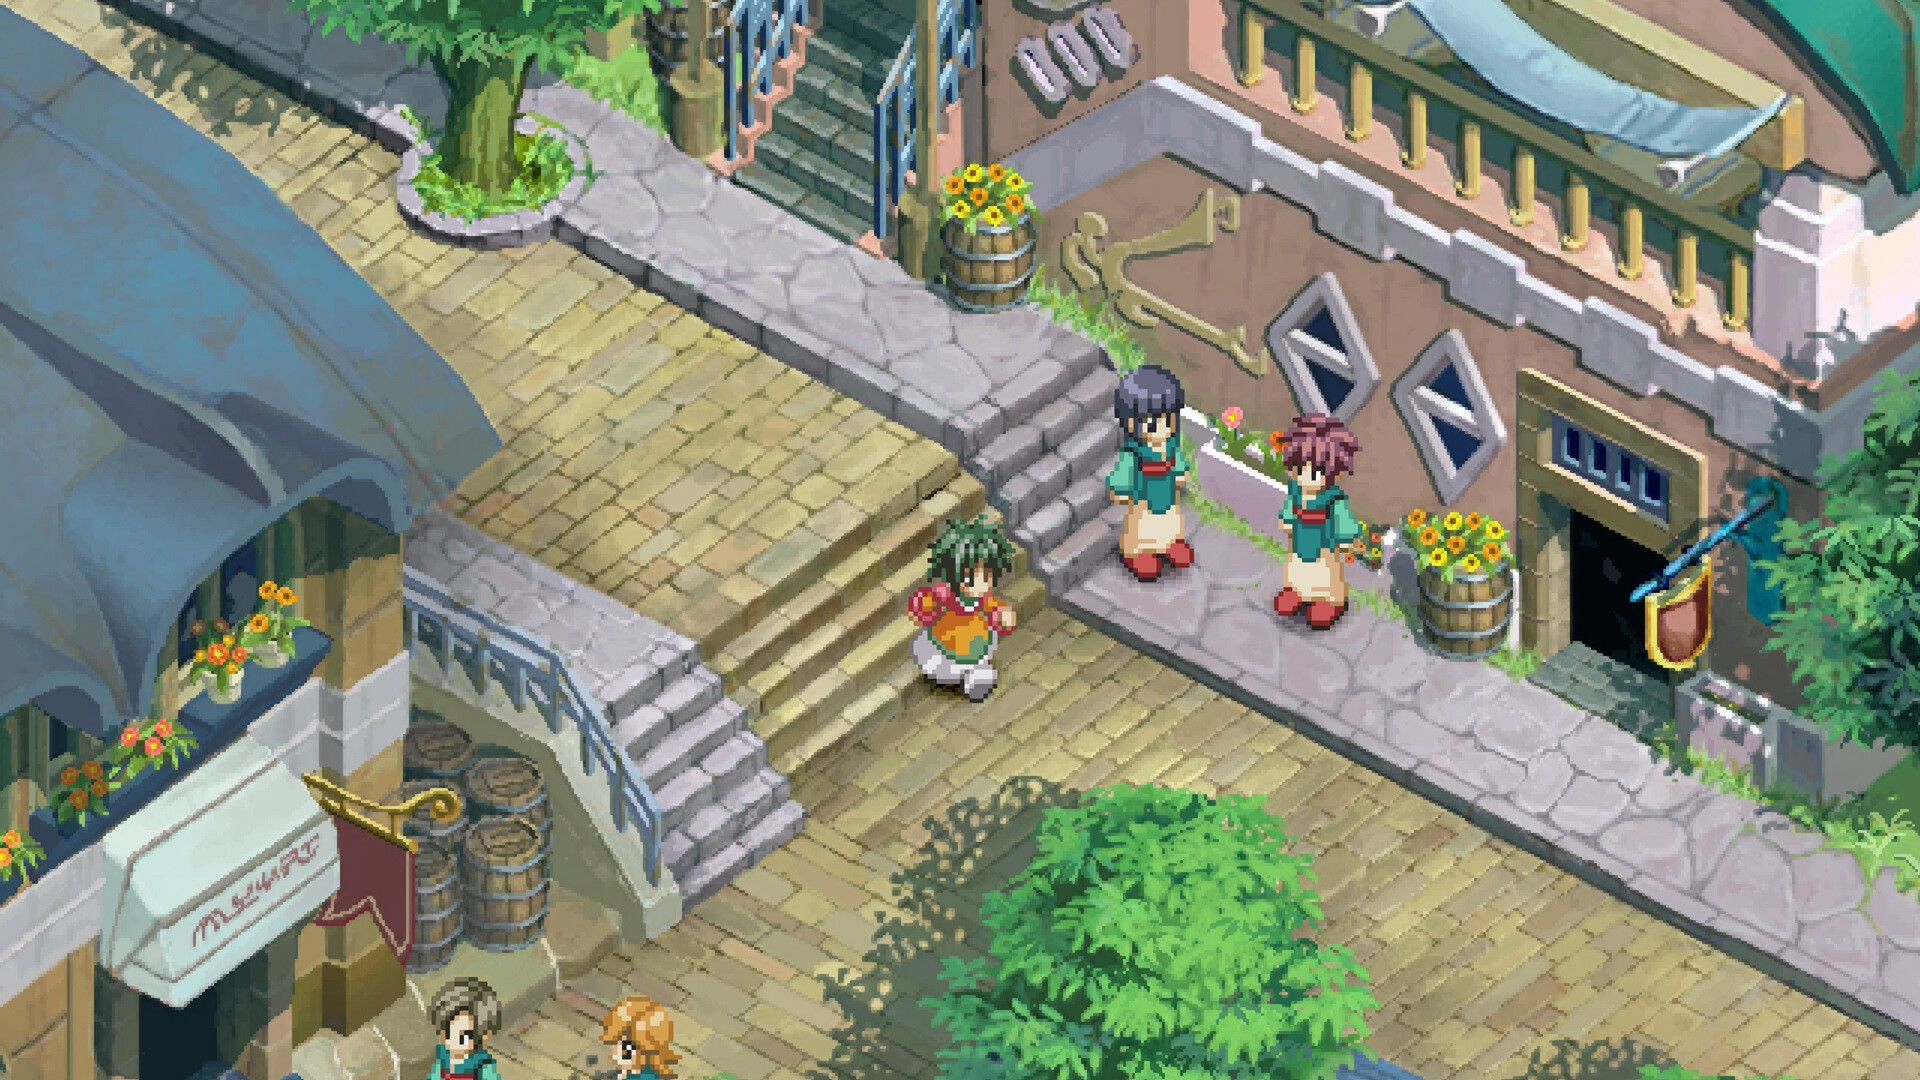
Official Steam promotional screenshot, checked 16 October 2026. Tales of Eternia Remastered and artwork © Bandai Namco Entertainment Inc. and © MUTSUMI INOMATA. Shown for editorial reference; this is not our gameplay capture.
Understand the opening without reading ahead
The official setup begins in Rasheans, a village in Inferia. Reid Hershel and Farah Oersted encounter Meredy, whose origins draw the group into a threat involving Inferia and Celestia. Those names are enough context for an opening session. You can leave later revelations, exact travel routes, and character recruitment details alone until the story introduces them.
Keep a small objective note with three entries: the last instruction you understood, the place or person that instruction names, and the action you still need to try. Update it after a conversation rather than copying a full chapter summary. This helps when you return after several days and avoids turning an early mystery into a spoiler checklist.
If a guide names an ability, location, or party member you have not encountered, check which version and story stage it describes. A page written for an older edition may still be useful background, but its button labels, convenience options, or precise prerequisites are not automatically verified for this remaster. Use the current game prompt as the immediate instruction.
Set a comfortable baseline before speeding anything up
Open the available settings and read the current control prompts. Check whether movement, confirmation, cancellation, and the battle commands you need are comfortable on your chosen device. Steam lists full controller support, but that does not establish one universal button layout for every controller or player configuration. We therefore do not print guessed keyboard shortcuts here.
The remaster officially includes destination markers, an option to disable enemy encounters, and a high-speed mode during auto-battle. It also allows graphics and sound effects to switch between modes. Start by identifying these options and reading their descriptions. Do not change several of them at once: otherwise a difference in speed, sound, or encounter behavior becomes harder to diagnose.
For an initial learning session, our suggested baseline is normal battle speed and a presentation mode you can read clearly. Keep guidance visible if you want help recovering the story route. These are learning preferences, not a hidden difficulty requirement. The quality-of-life settings guide explains when each documented convenience is useful and where its limits remain unverified.
Learn one battle loop before building a combo plan
Bandai Namco identifies the combat system as the Aggressive Linear Motion Battle System, or A-LMBS. Its description emphasizes fast 2D action, Artes, continued combinations, and coordination with party members. Your first goal should be understanding how your current actions affect position and recovery, rather than recreating a late-game combo from a video.
Choose an encounter that lets you observe the action. Try a basic action, watch its animation finish, and notice where your character ends up relative to the enemy. Then try an available Arte through the command the game currently displays. If you lose track of what happened, reduce the number of new actions you are testing instead of pressing everything faster.
After the battle, identify one useful observation: an action that moved you into danger, a moment when you could not respond, or a party action that changed the situation. Keep that observation separate from assumptions about exact damage formulas. A visible damage number in a promotional screenshot is an example from that scene, not a promise about your starting character or equipment.
Repeat with one adjustment. That gives you a small experiment you can understand: same general objective, one different choice. Once the basic rhythm makes sense, use the battle and party guide to organize further practice around spacing, action timing, and party coordination.
Use travel conveniences for a specific reason
Turning encounters off can make a return trip easier to follow, but the published description does not define every consequence for progression, rewards, or special encounters. Treat the option as a travel convenience until you have checked the current explanation in your build. Do not assume it improves your party automatically or replaces learning the battle system.
Before moving into unfamiliar territory, ask what you are trying to accomplish. If the goal is understanding the next story instruction, keep attention on dialogue and destination guidance. If the goal is learning combat, allow yourself space to observe battles. If the goal is revisiting a route you already understand, a travel convenience may suit that session better.
This distinction also helps when progress feels uneven. Arriving somewhere new is a navigation success; feeling comfortable in the next fight is a separate readiness check. If the latter is missing, review your available equipment, commands, and party information in the current menus before blaming the route or applying an old grinding recommendation.
Build a useful stopping point
Before ending the session, record what the game currently lets you save and confirm that you can recognize the saved progress. We have not verified a universal autosave schedule or a particular save-slot limit, so this guide does not promise either. Follow the options and confirmation messages your release actually provides.
Write down your next objective and one battle question to test next time. A useful note might say that you understand where the story points next but want to practice one available Arte before continuing. That is more actionable than a vague instruction to become stronger, and it does not depend on an invented level target.
If you are returning after following a video, note the video’s date and visible edition. Official trailers are helpful for recognizing characters and the overall battle presentation, but montage footage does not show every prerequisite between scenes. Avoid copying an apparent route transition unless the game has already introduced the relevant objective.
A compact first-session checklist
| Check | What you should be able to explain | If it is unclear |
|---|---|---|
| Story | Your next named objective | Revisit the latest instruction and destination guidance |
| Controls | One basic action and one available Arte | Read the current prompts and change one binding at a time |
| Combat | One cause of avoidable trouble | Repeat a small test at normal speed |
| Travel | Why you enabled or disabled a convenience | Restore your baseline and compare one option |
| Return point | How to recognize your saved progress | Check the game’s own save confirmation |
The checklist is deliberately about understanding, not hours played or a minimum level. It remains useful whether you prefer exploration or a more directed story session. When all five answers are clear, move on to the next objective instead of repeating the same opening advice indefinitely.
What this guide does not establish
We have not verified exact early boss routes, missable-item windows, skill unlock counts, or a complete set of Steam-release control bindings. Those require current, reproducible gameplay evidence. The official sources support an opening framework and the named features; they do not justify presenting a complete walkthrough as tested.
Steam’s US listing showed 15 October 2026 when checked, while publisher promotional material used 16 October. That source difference is recorded as release context rather than resolved into one worldwide time. For later corrections, send the displayed build, platform, objective, and a clear description of the discrepancy through our contact page.
Step-by-step guide
- Set a readable baseline
Read the current control prompts and convenience descriptions before changing several settings at once.
- Practice one battle question
Compare one basic action and one currently available Arte, watching position and recovery rather than copying a showcase combo.
- Leave a clear return point
Confirm the game’s save feedback and note the next objective plus one battle question to revisit.
Video evidence
Watch creator walkthroughs alongside this guide. Check the recording date before following requirements that may have changed.
Tales of Eternia Remastered – Announcement Trailer
Official publisher announcement: the two-world premise, party, and remastered battle presentation. A trailer is not a complete route or unlock guide.
Sources
Recheck these links whenever the game version, release status, or strategy changes.
- Steam: exact game listing Current identity, release listing, A-LMBS, named remaster conveniences, and official screenshots.
- Bandai Namco: official game page Publisher confirmation of the adventure, combat presentation, and current edition.
- Tales of Eternia Remastered – Announcement Trailer Official publisher announcement: the two-world premise, party, and remastered battle presentation. A trailer is not a complete route or unlock guide.
- Tales of Eternia Remastered - Official Trailer Launch-period story and battle footage distributed by GameTrailers. Useful visual context; montage footage does not establish exact inputs or prerequisites.